Sourdough: Starter, Sandwich Bread, Pancakes & Cookies

Sourdough sandwich bread
There is something special about a jar of sourdough starter sitting on the kitchen counter. Flour, water, time, biology, and a little patience transform into something alive that can provide delicious bread, pancakes, cookies, and countless other baked goods for years to come.
For many people, sourdough seems intimidating. I used to think so too. The truth is that sourdough can be as simple or as complicated as you make it. My approach is simple, practical, and designed for busy families who want wholesome homemade food without spending all day in the kitchen. Those of you who know me, know my attention span isn’t that long.
These days my starter lives in a stoneware crock with a lid because I bake often and use quite a bit of sourdough. But it didn't start there. Like most beginners, I started with a simple glass jar, a little flour, some water, and a willingness to learn. If you're just getting started, don't feel like you need special equipment. A jar works perfectly well. If sourdough becomes part of your regular kitchen routine, you may find yourself upgrading to a crock someday too.
If you've ever wanted to start your sourdough journey, here is the method I use, along with three of my favorite recipes. But, first a little Biology, because I can’t help myself.
The Science Behind Sourdough
As a biology teacher, I've always enjoyed understanding the "why" behind everyday things, and sourdough is a wonderful example of biology at work in the kitchen.
Many people assume the yeast in sourdough comes from the flour itself. While flour can contribute microorganisms, much of the wild yeast and beneficial bacteria come from the environment around us. Yeasts are naturally present on grain, in the air, on kitchen surfaces, and even on our hands.
When flour and water are mixed together, these naturally occurring microorganisms begin to grow and multiply. Over several days, the mixture becomes home to a community of wild yeasts and beneficial bacteria, primarily lactic acid bacteria.
The yeast produces carbon dioxide gas, which creates bubbles and helps bread rise. The bacteria produce mild acids that give sourdough its distinctive flavor and help create an environment where unwanted microbes struggle to survive.
In many ways, a sourdough starter is a tiny ecosystem living right on your kitchen counter. Every starter is a little different because the microorganisms in my kitchen may not be exactly the same as the ones in yours. That's one reason every baker develops a starter with its own personality. Some sourdough enthusiasts actually name their starter. I named mine “Tom” because the jar I started him in originally was a jar I canned tomatoes in. The lid was labeled Tom and I thought that was as good as any name.
Watching a starter come to life is one of my favorite examples of biology in action. What begins as nothing more than flour and water becomes a thriving community of microorganisms that can provide bread for years, even decades, with proper care.
Okay, now for the “How To” part…
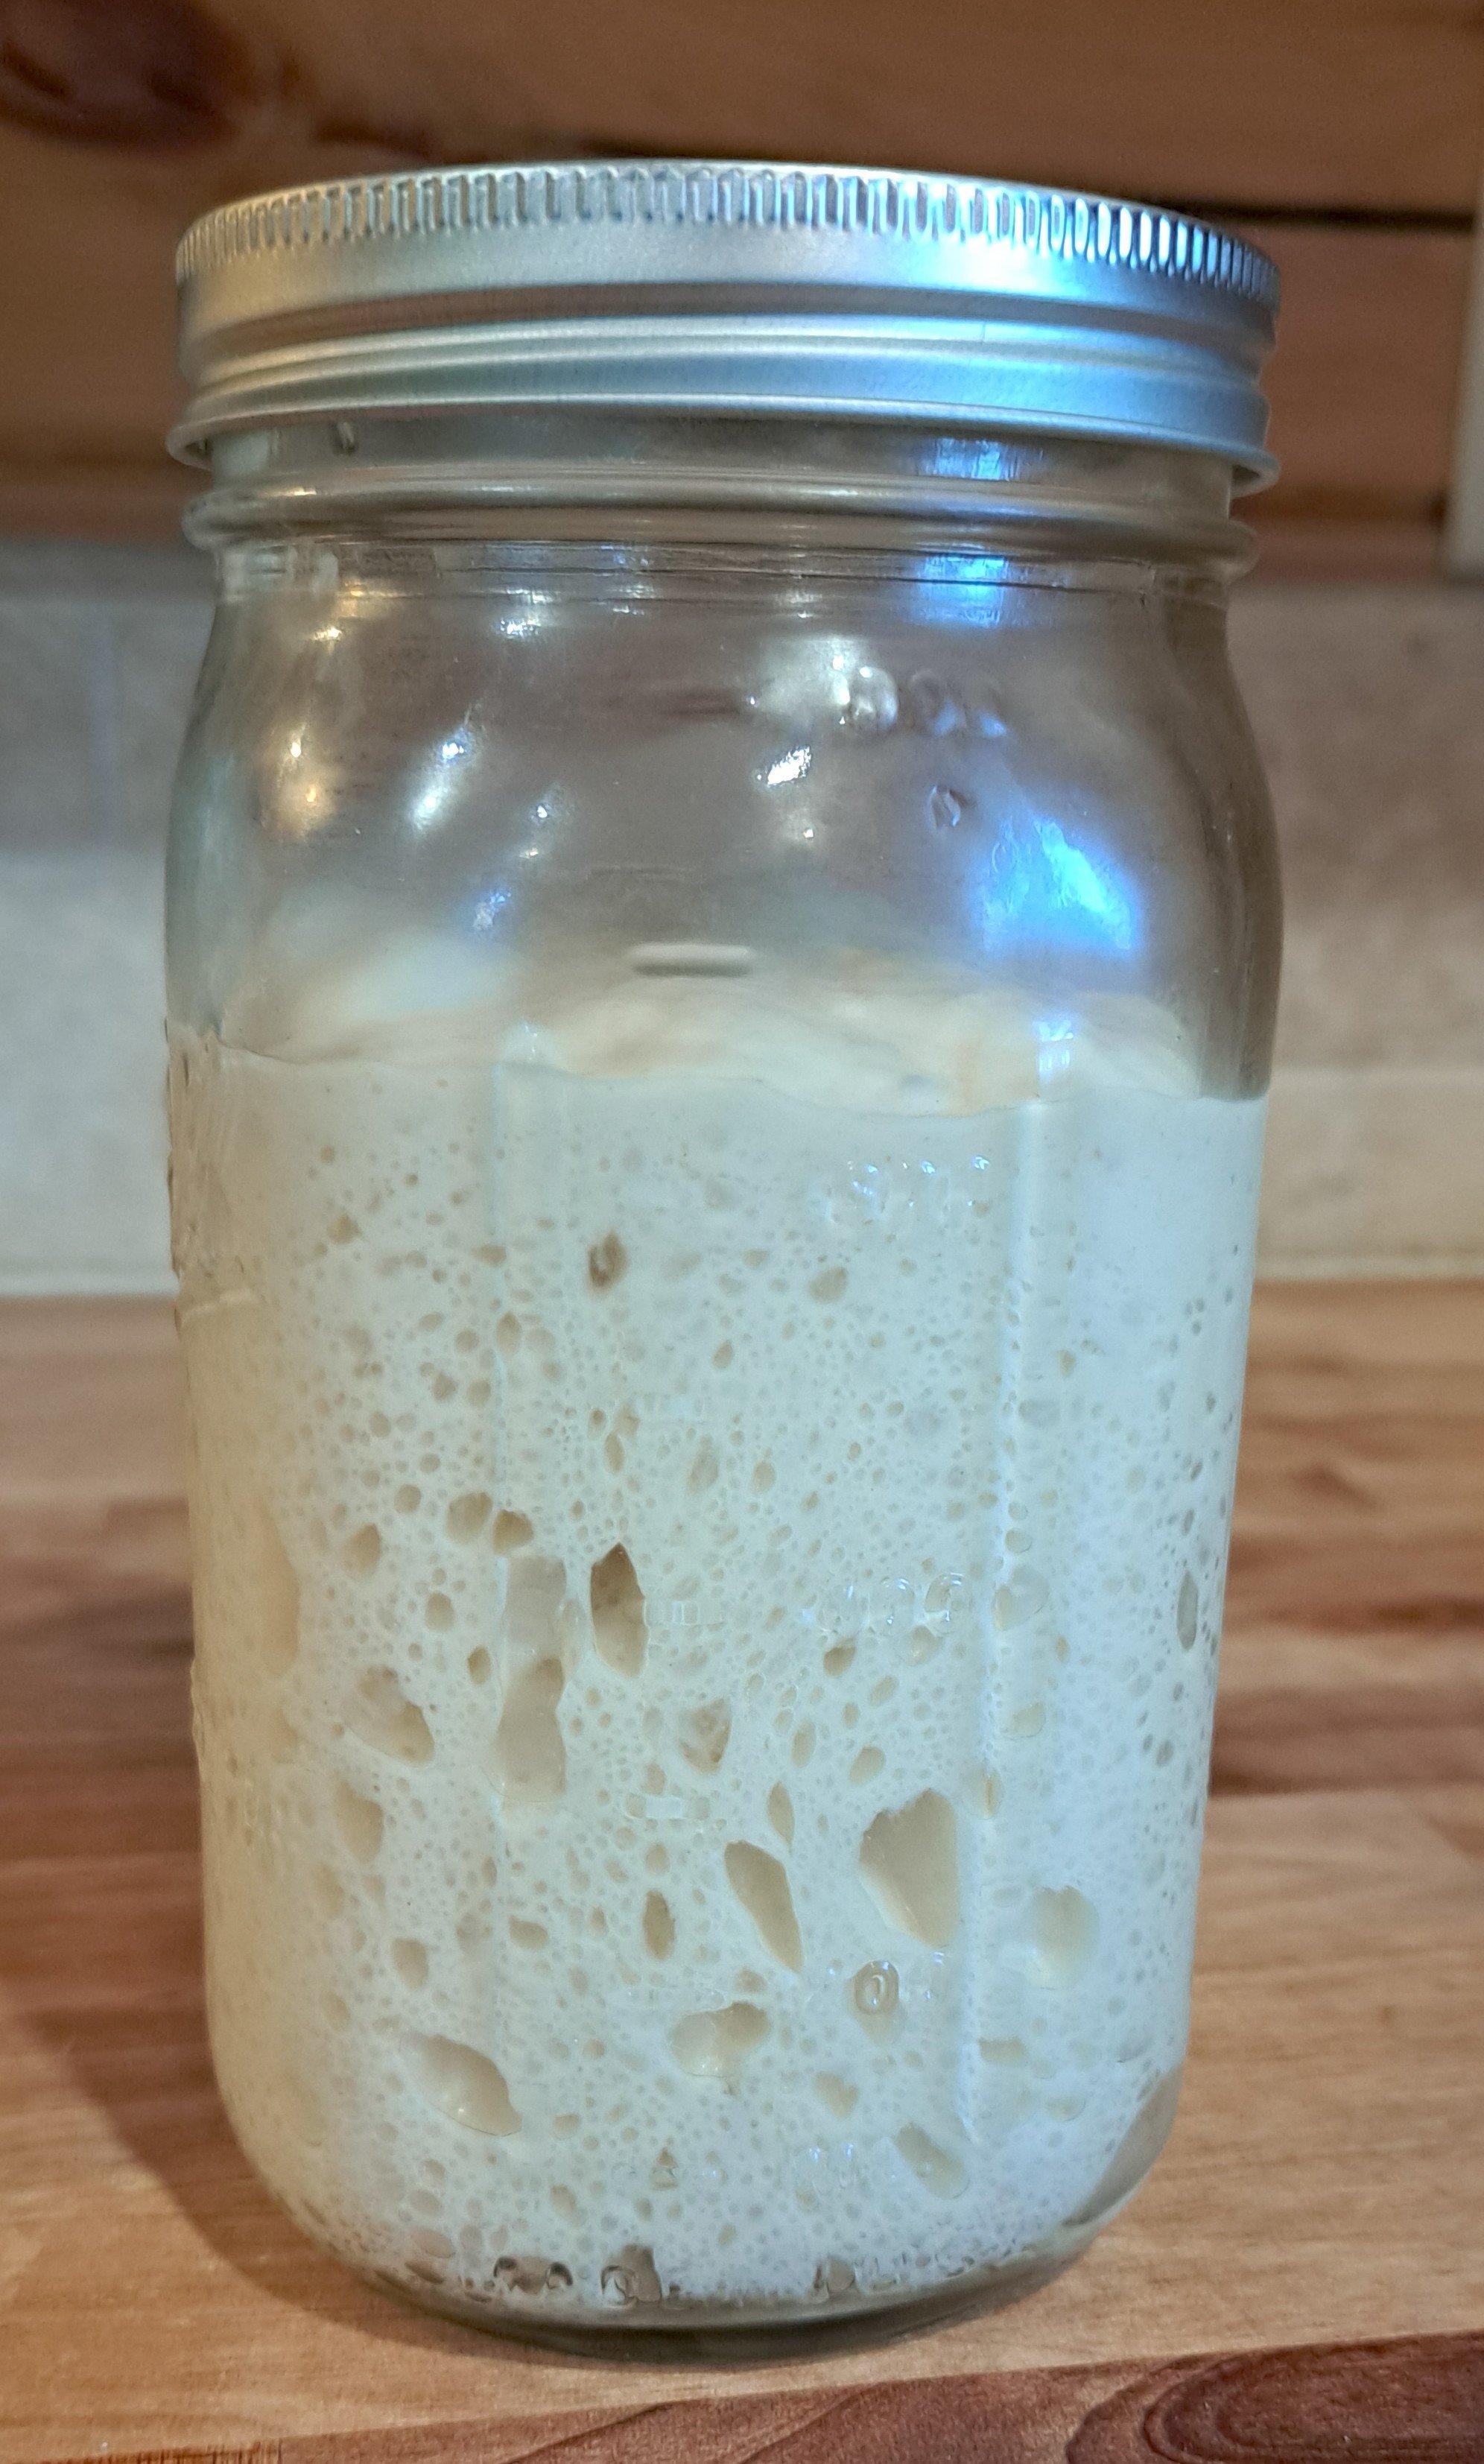
Active, ready for action, starter
How to Make a Simple Sourdough Starter
Creating a sourdough starter is easier than most people think.
Ingredients
½ cup whole wheat flour (I like to start with whole wheat, but you don’t have to)
¼ cup water
Day 1
In a large glass jar, combine the flour and water. Stir until well mixed. Cover with a clean towel and secure it with a rubber band or string.
Let it sit at room temperature for 24 hours.
Day 2
Check your starter for bubbles.
If you see bubbles, add:
½ cup all-purpose flour
¼ cup water
Stir well and let it rest another 24 hours.
If there are no bubbles, simply stir the mixture and allow it to sit another 24 hours.
Day 3
Check again for bubbles.
If there are still no bubbles, discard the mixture and start over.
If bubbles are present:
Discard half of the starter.
Add ½ cup flour.
Add ¼ cup water.
Stir well.
Cover and let it rest another 24 hours.
Continue Feeding
Each day:
Discard half of the starter.
Add ½ cup flour.
Add ¼ cup water.
Stir well.
Continue until your starter consistently bubbles and doubles in size within about 8 hours of feeding.
Storing Your Starter
Once your starter is active and reliable, store it in the refrigerator.
Feed it once a week to keep it healthy.
When you're ready to bake, remove it from the refrigerator about 24 hours before using it. Feed it and allow it to warm to room temperature until bubbly and active.
Every kitchen is a little different. Temperature, humidity, and even the flour you use can affect how quickly your starter develops. Don't worry if it takes a few extra days. Sourdough teaches patience, and the reward is worth it.

Bubbly starter in a bowl
Everyday Sourdough Sandwich Bread
This is the bread recipe I make most often. It produces soft, flavorful loaves that are perfect for sandwiches, toast, or serving alongside a bowl of soup. It also freezes beautifully, making it easy to keep homemade bread on hand.
First Ferment
In a 3-quart bowl, combine:
1 cup active sourdough starter
1 cup water
½ cup sugar
2 cups flour
Stir well and cover.
Allow the mixture to sit all day or overnight.
Make the Dough
After fermenting:
Stir the mixture well.
Remove and save 1 cup of starter for your next batch.
To the remaining mixture add:
1½ cups warm water
⅓ cup sugar
½ cup oil
1½ teaspoons salt
6½ cups flour
If kneading by hand, reserve about 1 cup of the flour for kneading. If using a stand mixer, you may not need the extra flour.
Knead until smooth and elastic.
First Rise
Place the dough in a lightly greased bowl and cover.
Allow it to rise until doubled in size, about half a day.
Punch down the dough and shape into:
3 smaller loaves
2 large loaves
Dinner rolls
Place into greased pans.
Second Rise
Allow the dough to rise until doubled.
Bake
Bake at 350°F for 40 to 45 minutes.
I use two large loaf pans and usually begin checking them around 35 minutes.
The loaves should be golden brown and sound hollow when tapped
Cooling
Allow the loaves to cool in the pans for 5 to 10 minutes.
Run a knife around the edges and turn the loaves out onto a cooling rack.
Allow the bread to cool completely before slicing, if you can resist the temptation. It is so good fresh out of the oven!

Fresh out of the oven!
Easy Sourdough Discard Pancakes
One of the easiest ways to use sourdough discard is pancakes. These are fluffy, flavorful, and come together quickly for a delicious breakfast.
Ingredients
2 cups sourdough starter or discard
2 eggs
3 tablespoons honey
3 tablespoons melted butter
½ teaspoon vanilla extract (or more)
1 teaspoon baking soda
Optional additions:
Chocolate chips
Blueberries
Chopped strawberries
Pecans or walnuts
Directions
Preheat a griddle or skillet over medium heat and lightly grease it. I like to use tallow.
In a bowl, combine:
Starter
Eggs
Honey
Butter
Vanilla
Mix until smooth.
Just before cooking, stir in the baking soda. The batter will become light and airy.
Fold in any optional additions.
Using a ¼-cup measuring cup, pour batter onto the hot griddle.
Cook until bubbles appear in the center and the edges begin to look dry.
Flip and cook until golden brown.
Serve warm with maple syrup, honey, fresh berries, or your favorite berry sauce.
These pancakes are one of the reasons I always keep a sourdough starter around. They're simple, economical, and a wonderful way to use discard that might otherwise go to waste.
Sourdough Discard Chocolate Chip Cookies
When your sourdough jar starts filling with discard, cookies are another wonderful option. The sourdough adds a subtle richness that makes these cookies extra special.
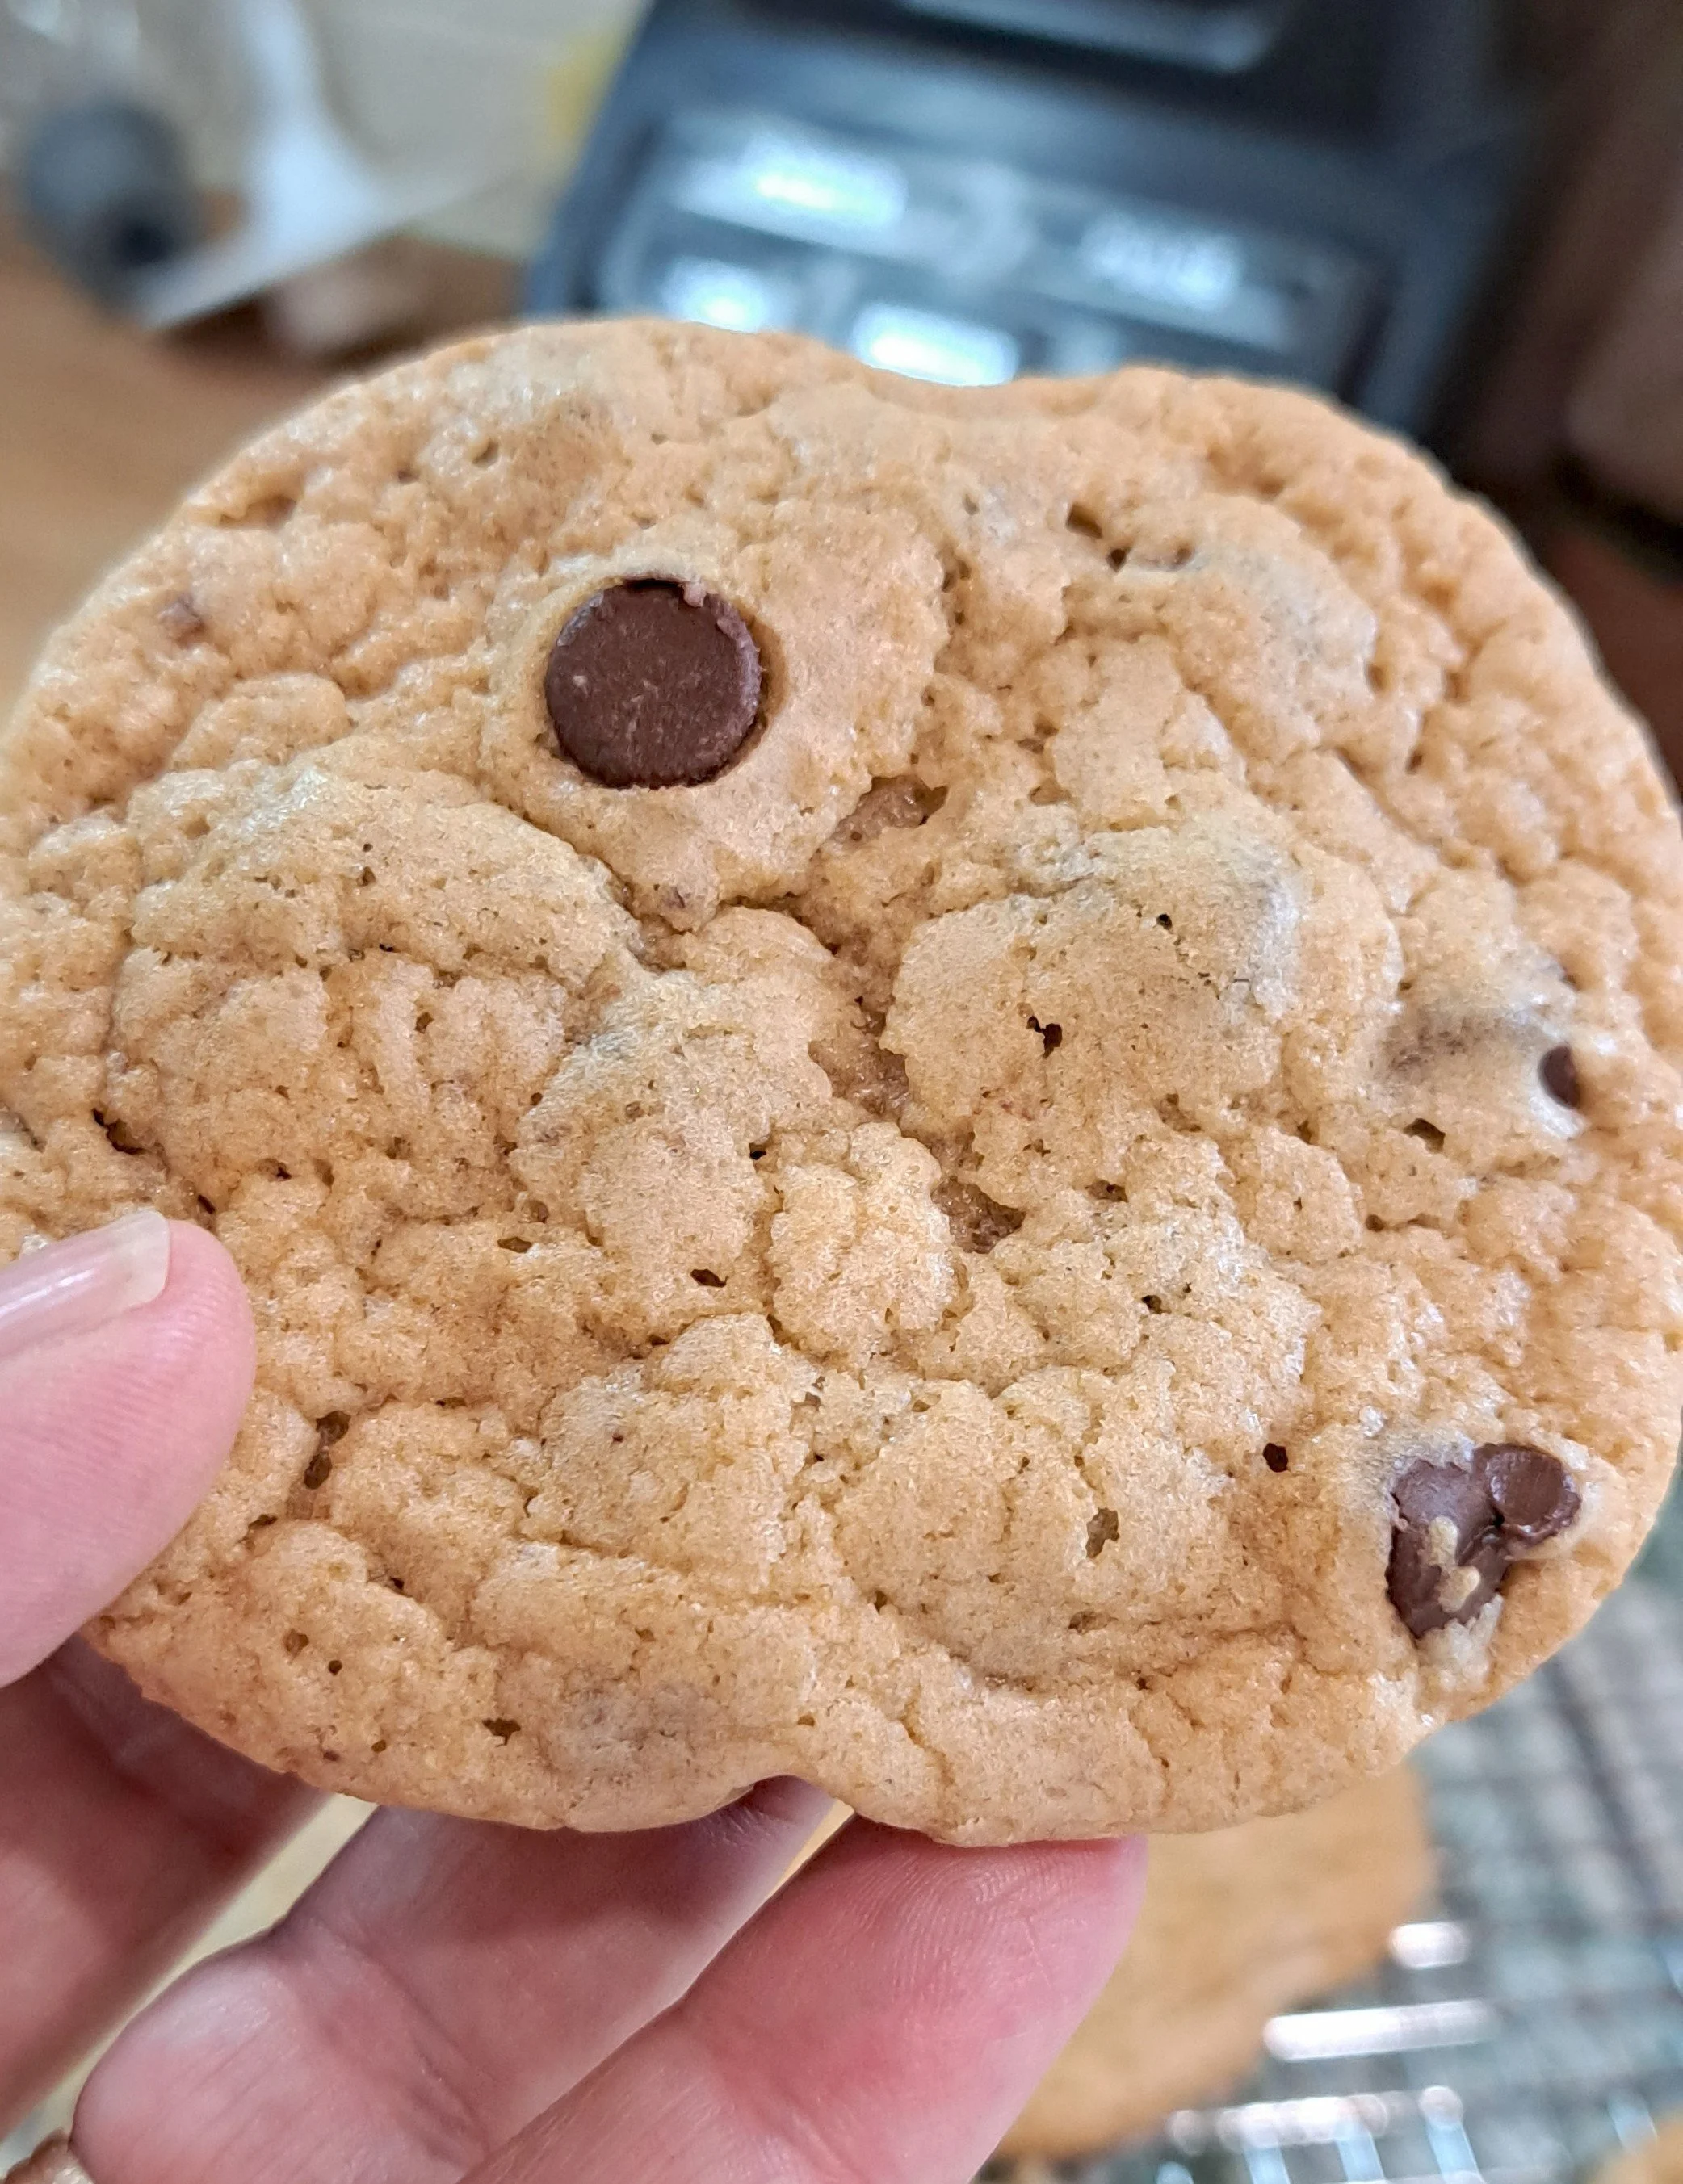
These cookies are really yummy!
Ingredients
1 cup butter, softened
1 cup white sugar
1 cup brown sugar
2 large eggs
¾ to 1 cup sourdough starter or discard
2 teaspoons vanilla extract
Dry Ingredients
3 cups all-purpose flour
Add an additional ½ cup flour if using 1 full cup starter
1 teaspoon baking soda
½ teaspoon baking powder
1½ teaspoons salt
Mix-Ins
2 cups chocolate chips
1 cup chopped pecans or walnuts (optional)
Directions
Preheat oven to 375°F and line baking sheets with parchment paper.
Cream together the butter, white sugar, and brown sugar until light and fluffy.
Add the eggs, starter, and vanilla. Mix well.
In a separate bowl, combine the flour, baking soda, baking powder, and salt.
Gradually add the dry ingredients to the wet ingredients and mix until combined.
Fold in the chocolate chips and nuts.
For best results, chill the dough for about an hour.
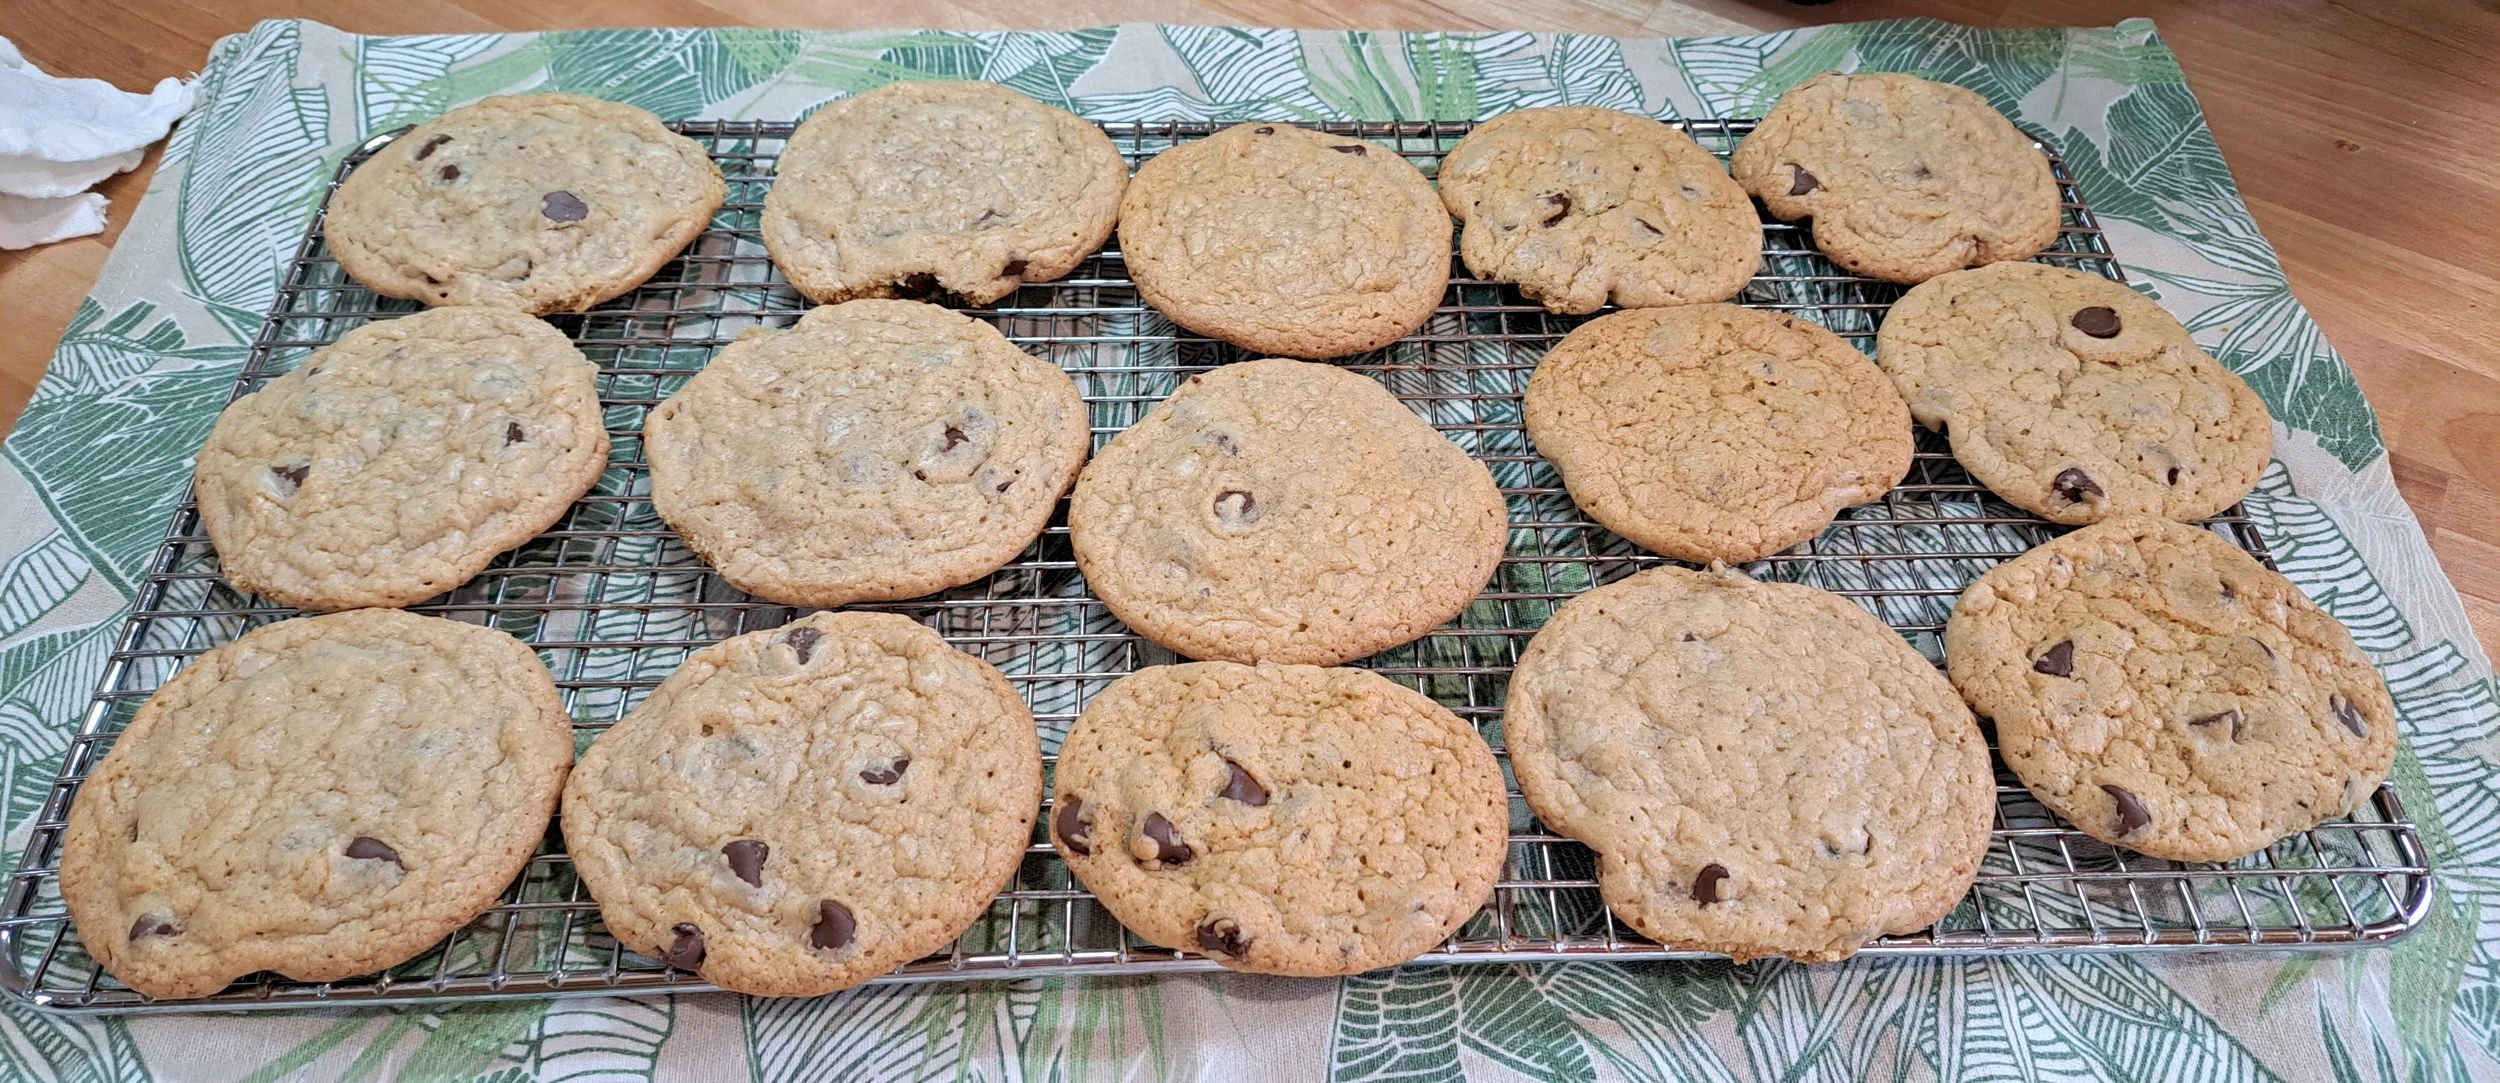
Using a cookie scoop, place dough balls about 2 inches apart on the prepared baking sheets.
Bake for 10 to 12 minutes or until the edges are lightly golden.
Allow the cookies to cool for several minutes before transferring them to a cooling rack.
From My Kitchen
I always keep a container of discard in the refrigerator, and these cookies are one of my favorite ways to use it. Fresh from the oven with a cold glass of milk, they rarely last long in our house.
I have found these freeze well when layered between wax paper.
And now a final word from the nerd in me….
Beyond its wonderful flavor, sourdough offers some interesting benefits that come from the natural fermentation process.
Easier to Digest
During fermentation, the wild yeast and beneficial bacteria begin breaking down some of the carbohydrates and proteins found in flour. Many people find sourdough bread easier to digest than bread made with commercial yeast.
Better Mineral Availability
Whole grains contain compounds called phytates, sometimes called phytic acid, which can bind minerals such as iron, zinc, and magnesium. The fermentation process helps reduce some of these compounds, making the minerals more available for the body to absorb.
A Slower Rise in Blood Sugar
Because of the fermentation process, sourdough bread often has a lower glycemic impact than many conventional white breads. This means it may cause a slower rise in blood sugar compared to some commercially produced breads.
Longer Freshness
The natural acids produced during fermentation help sourdough bread stay fresh longer. Those same acids can also discourage the growth of mold, which is one reason traditional sourdough has been valued for generations.
Rich Flavor Without Extra Ingredients
One of the things I appreciate most about sourdough is that it develops incredible flavor from simple ingredients. Flour, water, salt, and time create a depth of taste that often doesn't require dough conditioners, preservatives, or other additives.
Final Thoughts
One of the things I love most about sourdough is that very little goes to waste. The starter becomes bread, the discard becomes pancakes and cookies, and every batch teaches a little more patience and self-reliance.
In a world where convenience often comes from a package, sourdough invites us to slow down, pay attention, and create something nourishing with our own hands. There is a certain satisfaction in pulling a loaf of bread from the oven, knowing it began with nothing more than flour, water, and time.
If you've been considering starting a sourdough journey, I encourage you to give it a try. A simple jar of flour and water might just become one of your favorite kitchen companions. Drop me a line below if you have a favorite discard recipe to share.
Happy baking!
Roxanne
Rustic Roots & Simple Living
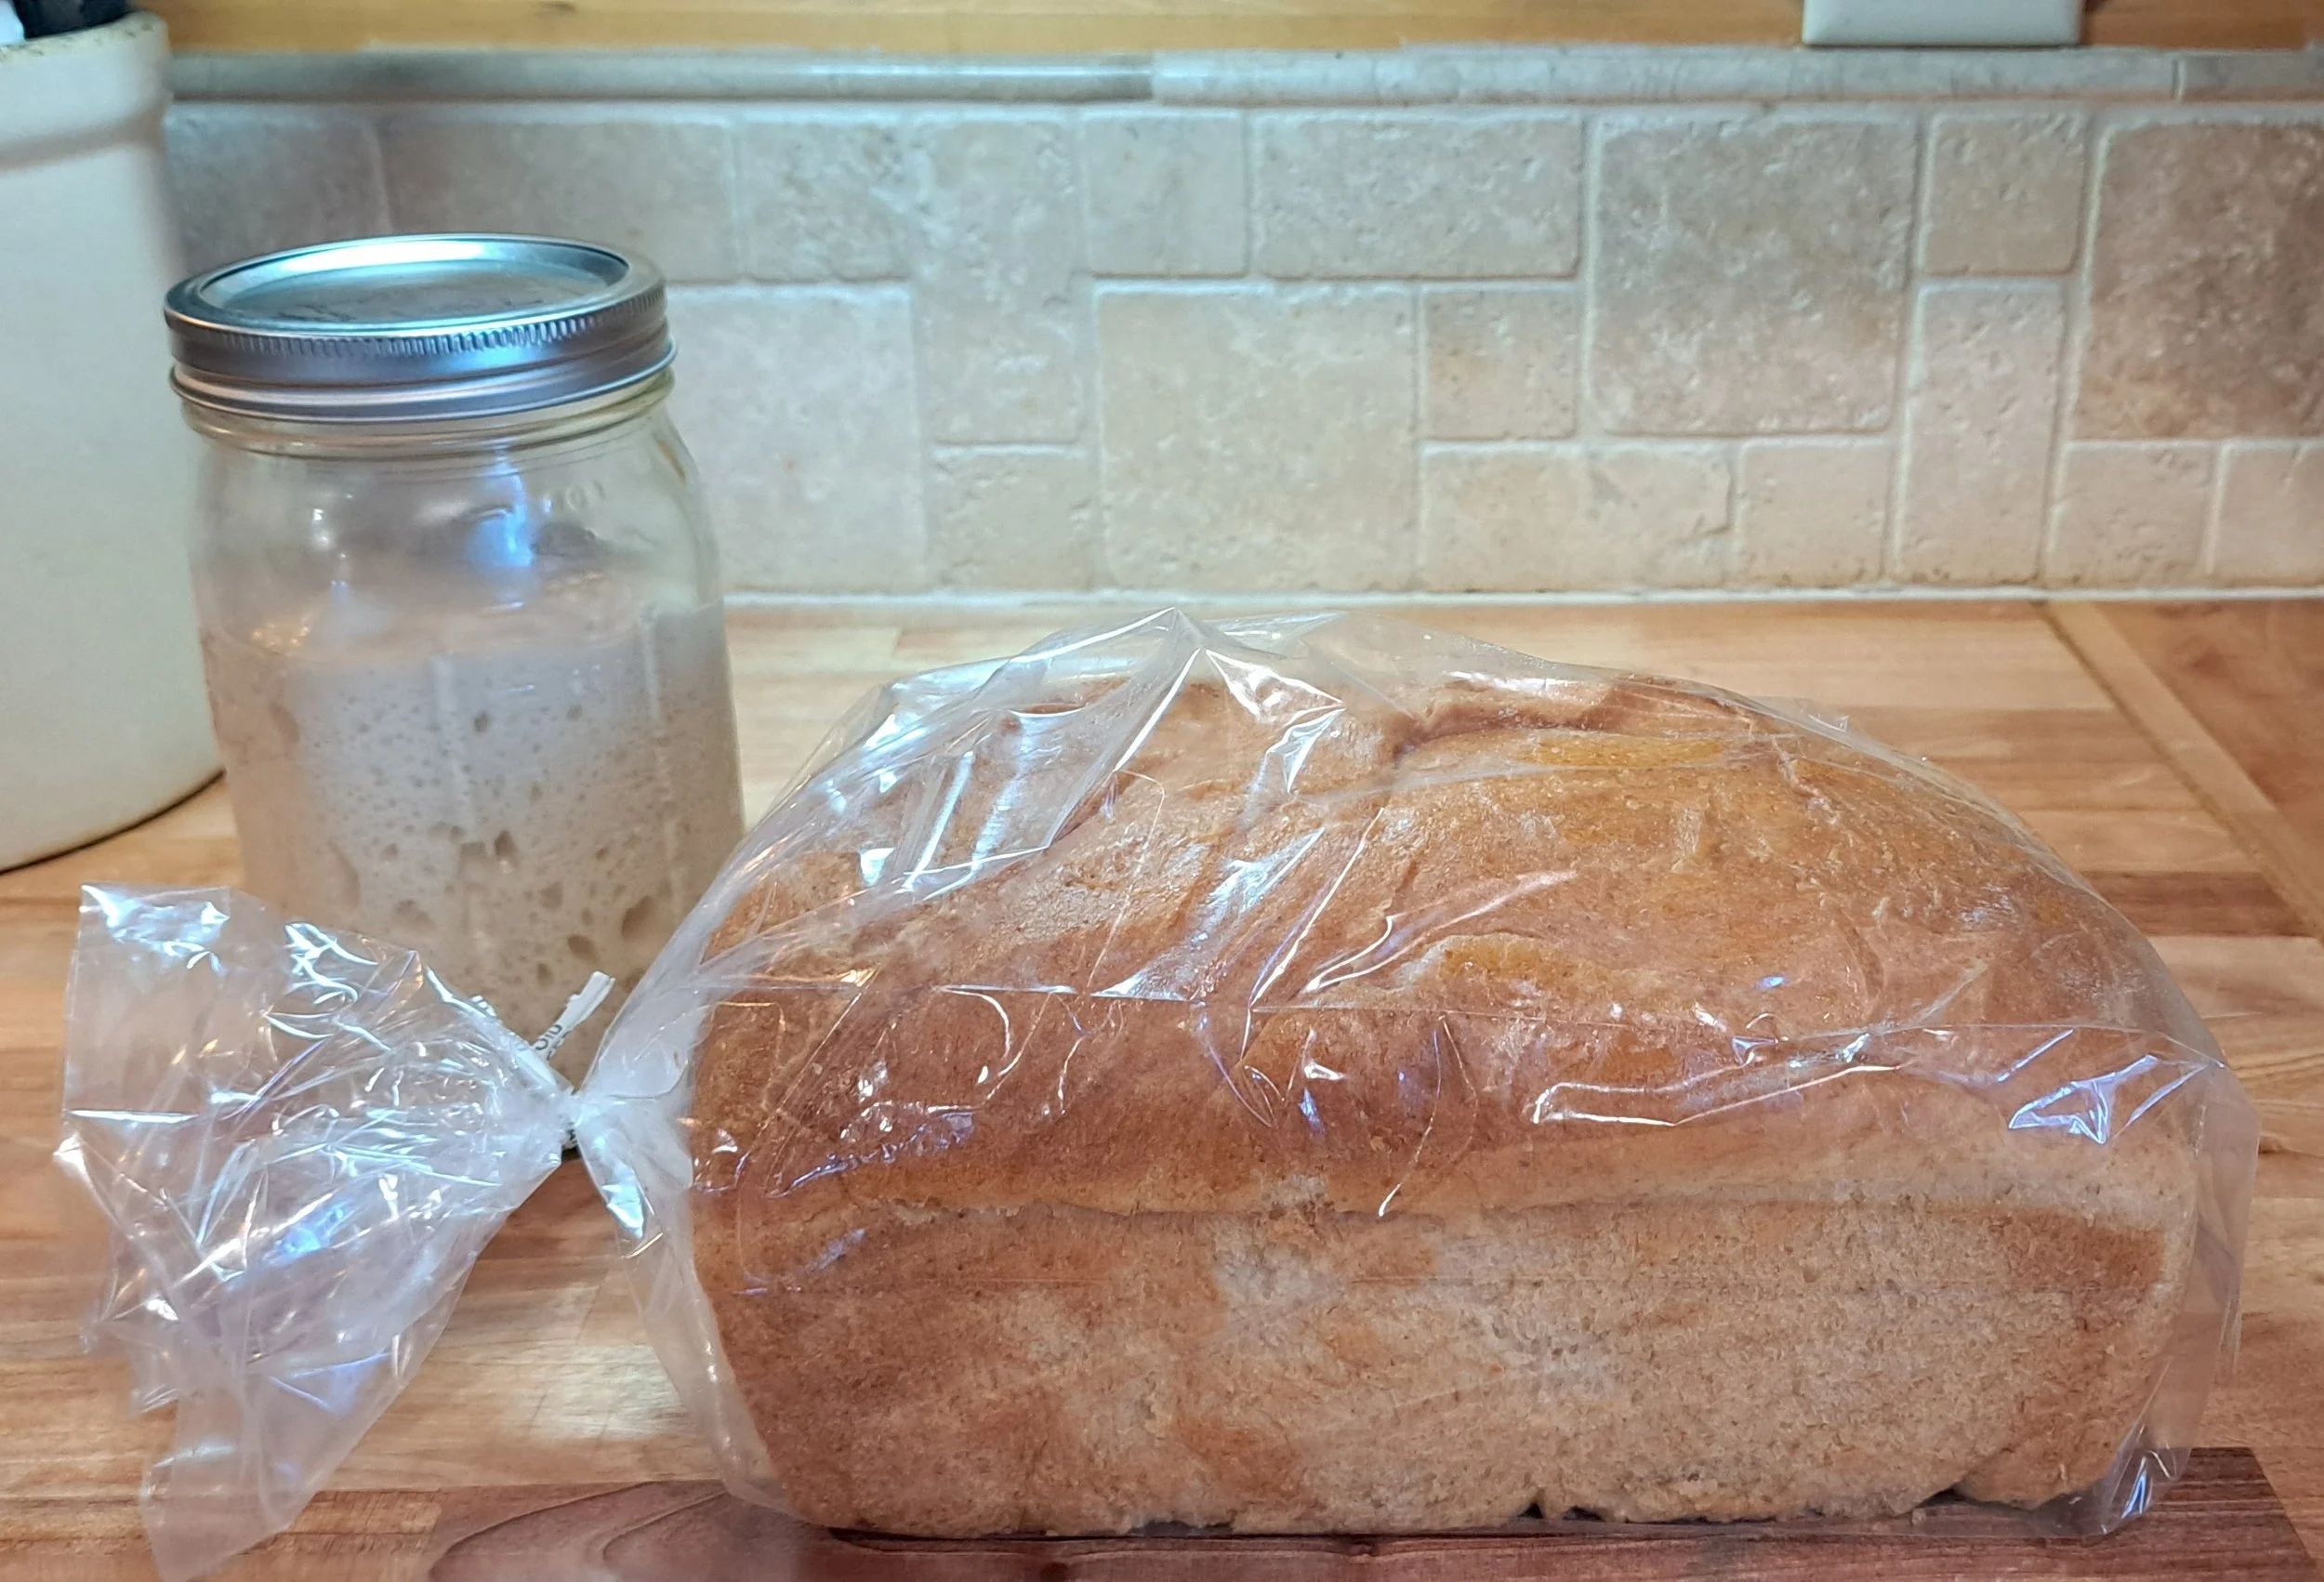
This bread freezes well.